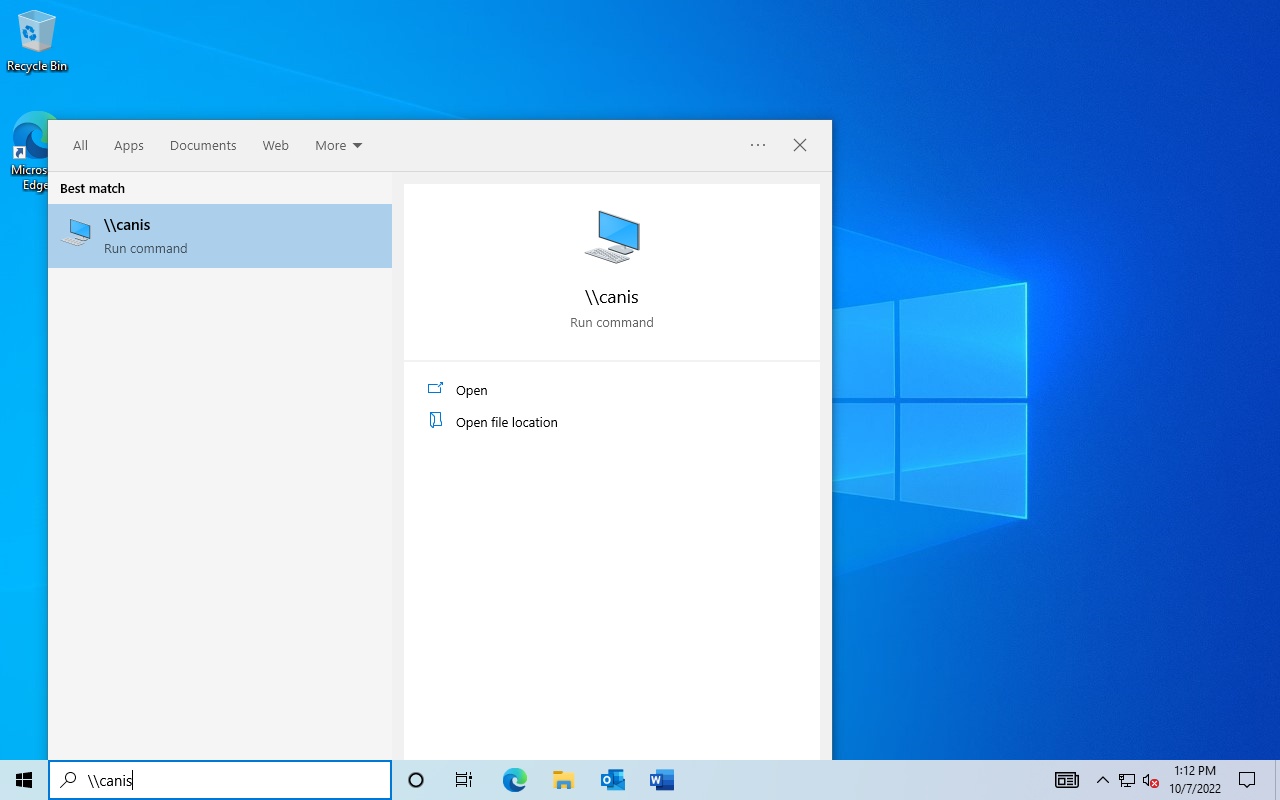
STEP 1: Open the Print Server.
You must be logged onto the Heritage corporate network either through a wired or wireless connection. For wireless connections, you must be on the Heritage Staff network.
- Open the Start menu, and in the search bar type:
\\canis
- If you are using a non-Heritage owned computer type:
\\canis.heritagecollege.local
- Press ENTER on your keyboard or click on the entry that your search found. It should look similar to this screenshot.
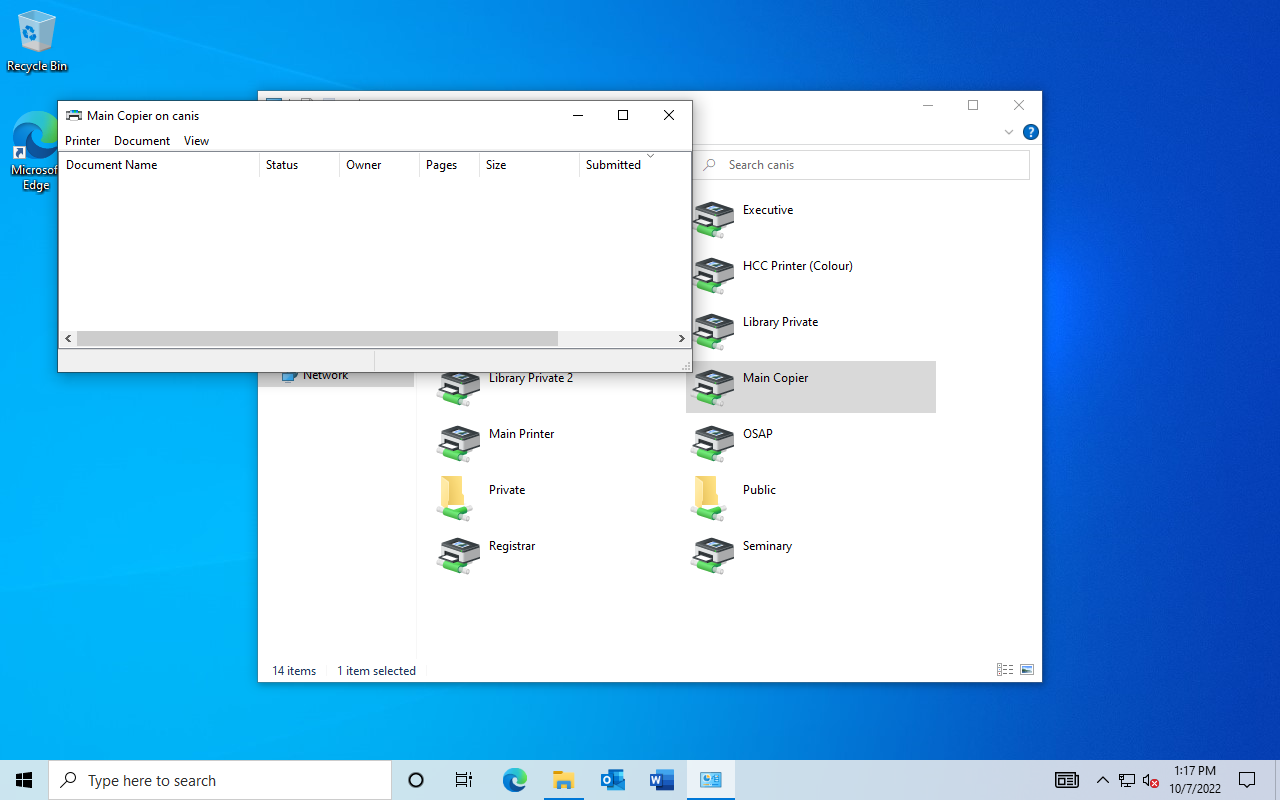
- A window showing all the printers available on the printer server will appear.
STEP 2: Install the Printer
- Double-click or press ENTER on the name of the printer you would like to install (a list of printers is below). You can also right-click the printer and choose Open.
- The driver installation process will begin. If you are prompted to install the printer driver click Install driver.
FINISH:
- The print queue for the newly installed printer will appear. It will be titled with the name of the printer. For example “Main Copier on canis”. This is the sign that installation was successful.
- You have successfully installed the printer!
Network Printers @ Heritage
- Main Copier – Location: Admin office. Canon high-volume multi-function color copier/printer/fax. Includes a booklet finisher, stapler, and a 2/3 hole puncher.
- Main Printer – Location: Admin office. High volume HP printer.
- HCC Copier – Location: Student Services. Canon high-volume multi-function copier/printer. Includes a stapler.
- Library Copier – Location: Student Services. Canon high-volume multi-function copier/printer. Includes a stapler.
- eminary – Location: Seminary Foyer. High volume HP 4250 printer.