Setting up a class at Heritage can be intimidating. We’ve all been there…when the technology doesn’t work, or it’s so complicated that it makes our lives harder.
Setting up to teach a class at Heritage is relatively easy using this simple three-step process. Turn equipment on, share content, join a video call.
- Turn equipment on
- Share content
- Join a video call
Turn the Equipment On
Use the touchscreen in each room to turn on the equipment. The computer will likely already by on. If not, simply press the power button on the front to turn it on. It will login automatically.
- In the new Seminary building, there are ON and OFF buttons for this. The ON button turns on the TVs, microphones, and camera(s) automatically.
- In the Academic building simply turn the camera on, un-mute the microphones, and turn on the TVs (using their remotes) individually.


Share Content
There are two main ways to share content. Casting wirelessly from your device, or putting content directly onto the room computer.
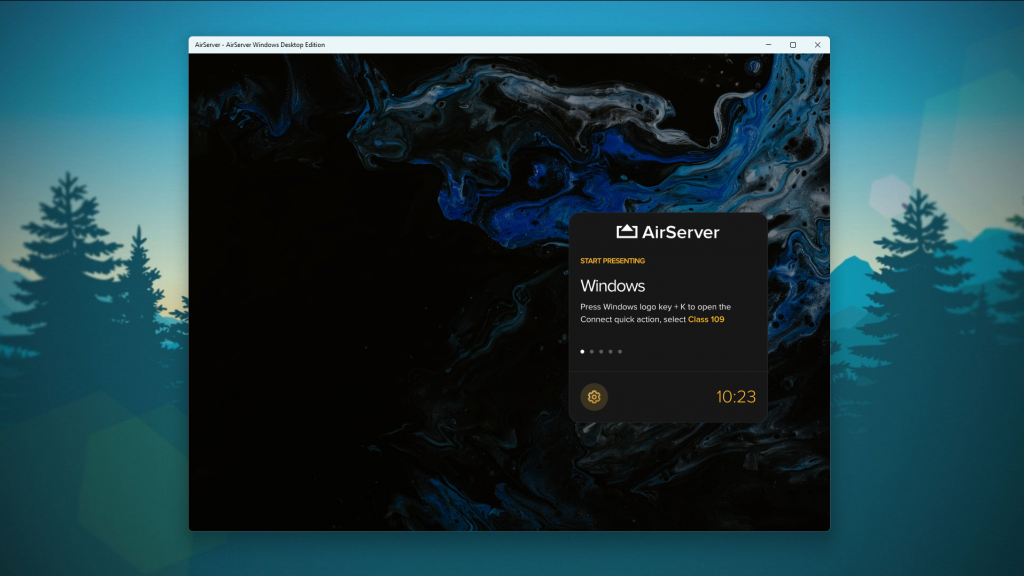
- You can share content from a laptop or tablet to the room computer from Apple devices using AirPlay (MacOS, iOS) or Windows devices (Cast). We use a technology called AirServer, which runs on the room computer to facilitate this. Follow the instructions on How to Use AirServer for your specific device to get connected. Remember to make sure you’re on the Heritage Staff wireless network. Email support@heritagecs.edu to request access to this network.
- Of course you can also copy content to the room computer and run it directly. There is a presentation remote provided in each room to advance slides.
All rooms have some form of front display (mostly TVs as of 2025) and a rear display (for displaying students joining via a video call).

Join A Video Call
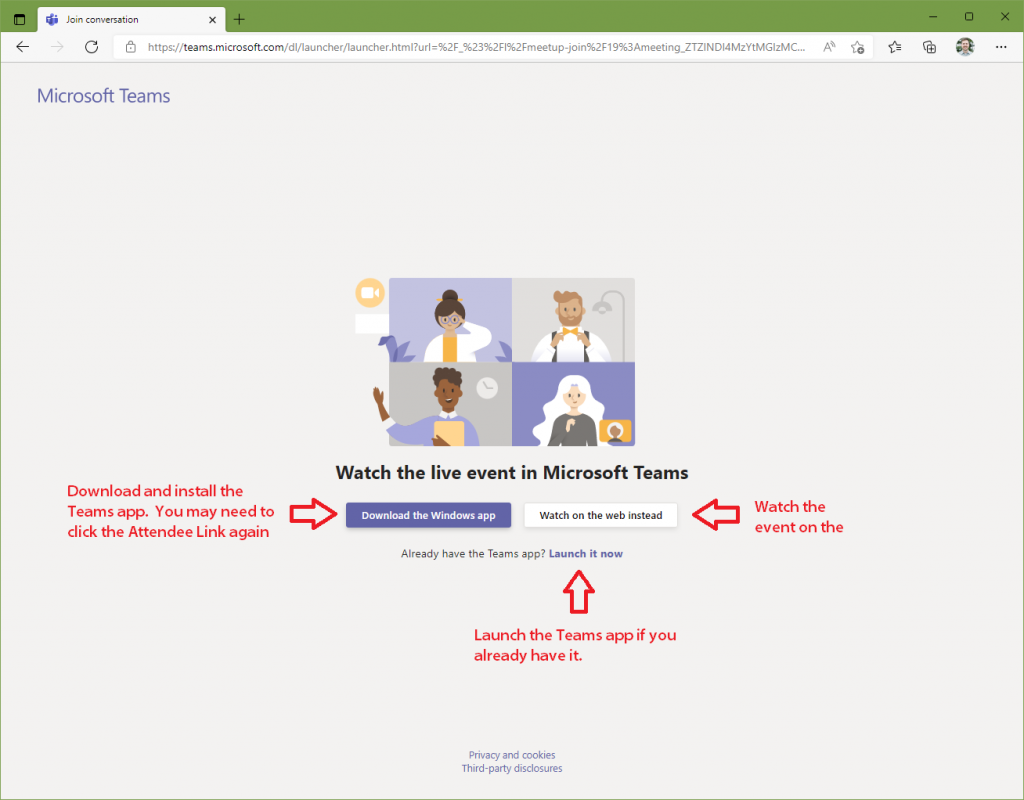
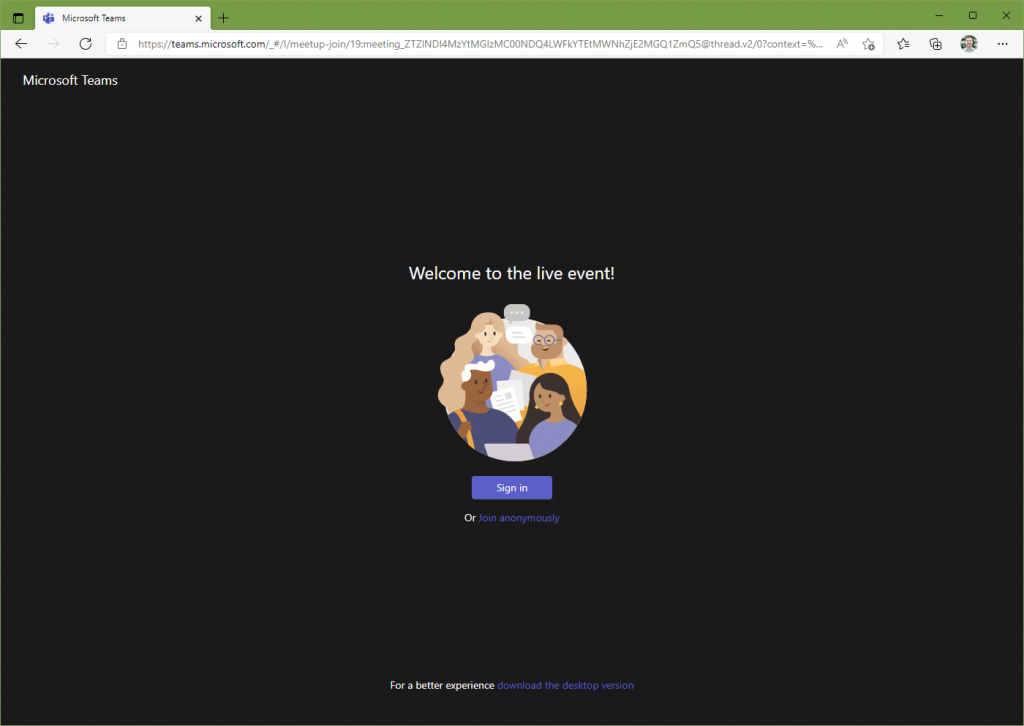
The vast majority of classes at Heritage have some students joining via a via call. The video call for most classes is handled through Microsoft Teams.
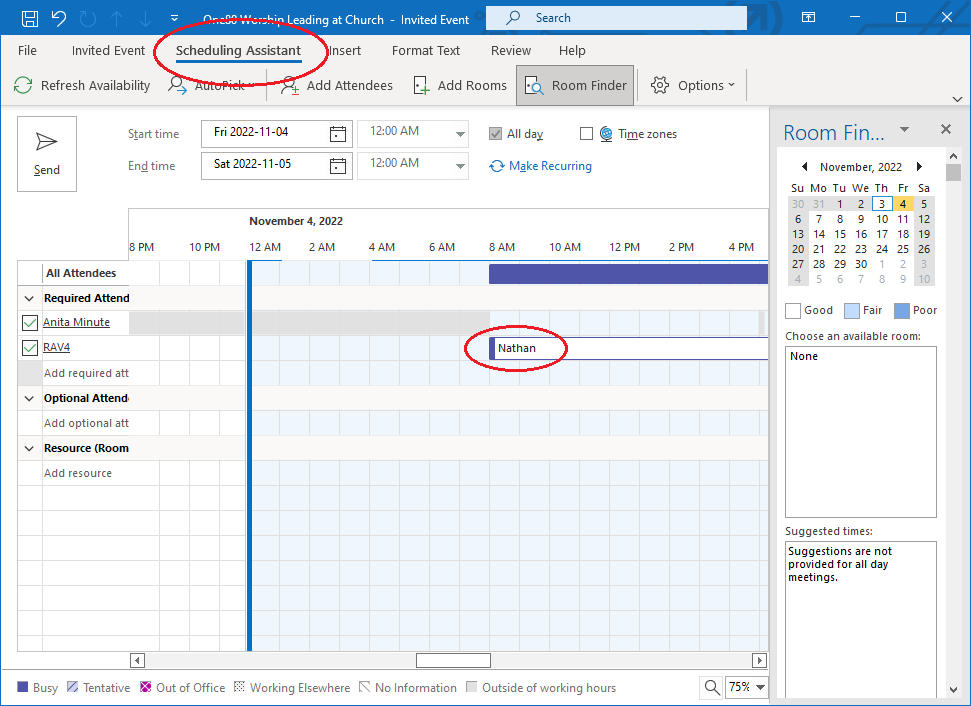
- Open the Calendar tab in Teams, and look for the meeting that represents your class (i.e. “Greek Elements I”. Click the meeting and then click Join.
- To share your content into the video call, use the Share button to the left of the Leave button. Click Share and then choose a screen to share (typically the same screen that you content is displayed on). This will enable both the room and students on the video call to see your content.
The classroom systems are standard across all rooms. For a detailed list of equipment, see the Classroom Equipment article.

Video Tutorial (2021)
The quick tutorial video below shows the process of getting set up in a classroom. All classrooms are similar. However, please note this was recorded in 2021 before the new seminary building was completed in 2025.