Found a couple articles today on viewing Exchange 2010 Anti-Span logs.
http://byronwright.blogspot.com/2013/06/viewing-exchange-2010-anti-spam-logs.html
Found a couple articles today on viewing Exchange 2010 Anti-Span logs.
http://byronwright.blogspot.com/2013/06/viewing-exchange-2010-anti-spam-logs.html
I’m saving this info for my own interest. This article has been super-helpful regarding the command line tools available for diagnosing and fixing Windows update on Windows 10.
From the follow blog, I found these amazingly useful commands.
max_execution_time = 60
upload_max_filesize = 1024M
smtp = 10.0.0.2
smtp_port = 25
sendmail_from = pinwheel@heritage-theo.edu
This is one of the best descriptions I’ve read about VLAN tagging and PVID (port virtual id).
http://en.community.dell.com/support-forums/network-switches/f/866/t/18619540
From Cerbrea:
There’s two things you can set on the port for VLANs….tagged or untagged and PVID.
If the port is set as untagged, then it tells the switch that the device(s) connected to that port are VLAN unaware, so any packet to be forwarded from that port out of the switch must be forwarded with the VLAN tag removed. If the port is set as tagged, then the destination device is VLAN aware, and packets will be forwarded with VLAN tags…so tagged /untagged is for packets leaving the switch.
Now for packets arriving at the switch port….if the packet arrives with a VLAN tag , then – providing that port is in the VLAN matching the tag – the packet will be forwarded; so if you have set a server NIC for instance to apply a VLAN ID , then the packet arriving at the port will be tagged…so in this case you have a VLAN aware device forwarding packets already tagged , so you would configure the port into the appropraite VLAN as a tagged port. Note that if the packet arrives at the port tageed for a VLAN of which the port is not a member, the switch will drop the packet.
If a packet arrives at the port from an end device carrying no VLAN tag, then the switch will add a VLAN tage which corresponds to the PVID, and then forward it within that VLAN; so the PVID mechanisim allows you to have traffic originating from a non-VLAN aware device to become an 802.1q packet, so that it can traverse to other switches and still be contained within the correct VLAN; so PVID is for non tagged packets arriving at a port on the switch.
Hope this helps
Once the reverse proxy is setup on Sombrero and the traffic forwarded to the back-end server, there have been instances where navigating to the site produces a Bad Gateway 502 error. This is usually caused by an mismatch of the principal name used in the certificate on the back-end server and the domain name used in reverse proxy rule on Sombrero.
Most recently, when setting up https://finance.heritageapps.ca I ran into this issue. The root cause was sourced to a mismatch of the domain name used in the server farm where the rule was pointed to. I was using the internal domain name of the internal server, which in this case was tripping up IIS and causing the bad gateway error. To fix this, I used split DNS (which I had already setup) for the heritageapps.ca domain. Internally I point the same domain (finance.heritageapps.ca) to the back-end server. So, I just used this same name in the server farm configuration to point to my internal server.
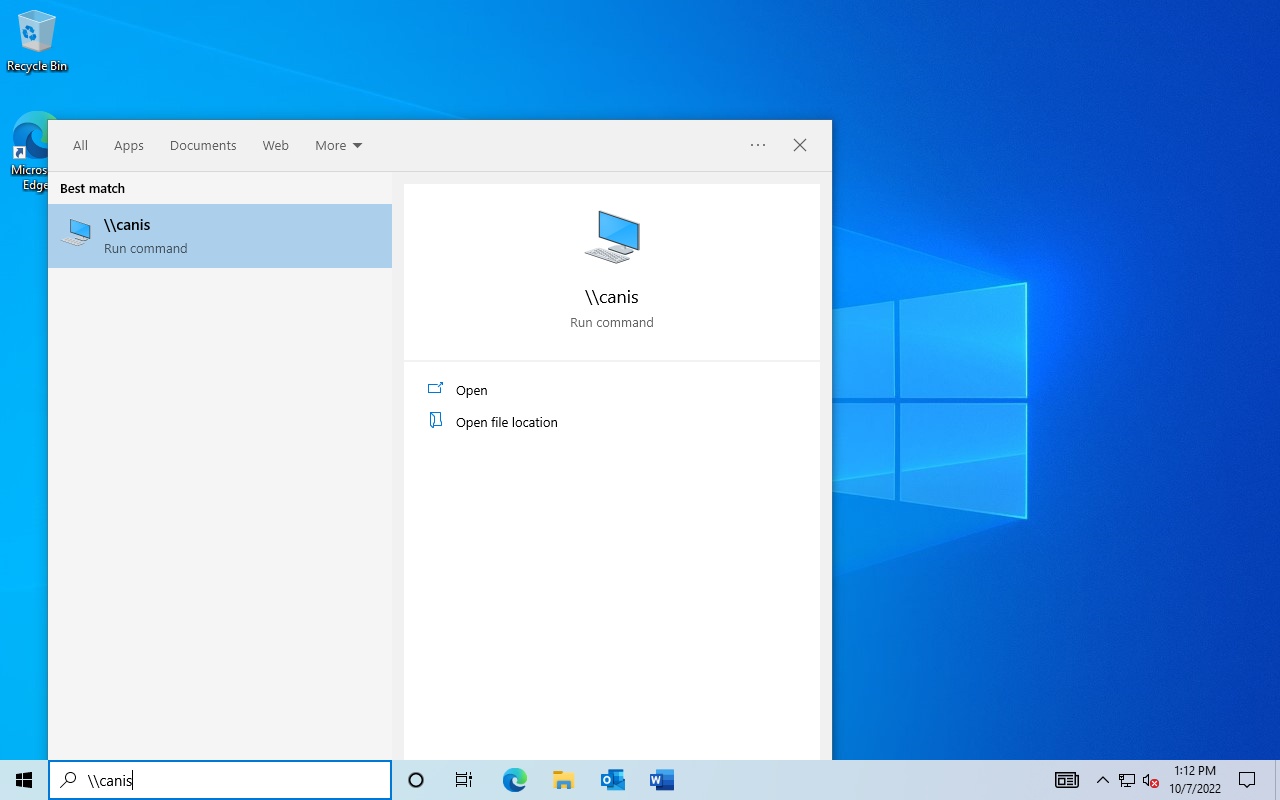
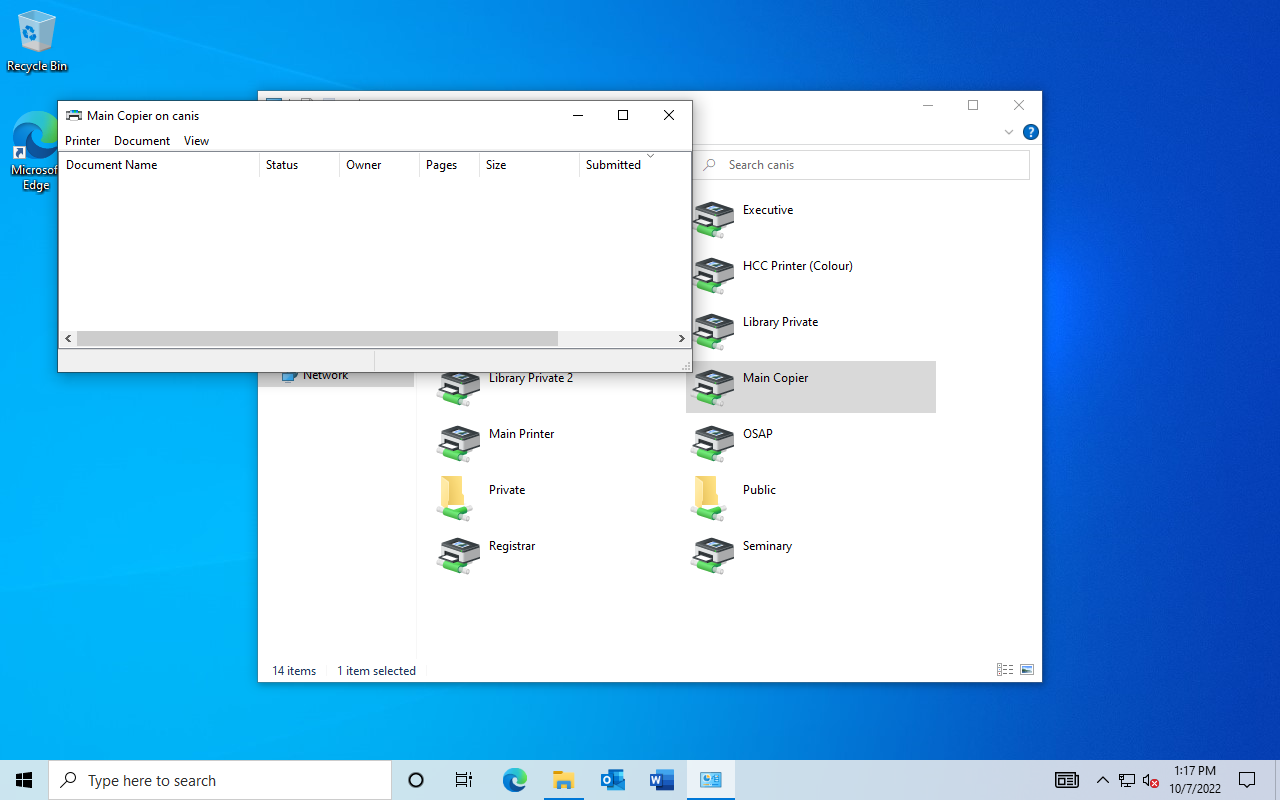
STEP 1: Open the Print Server.
You must be logged onto the Heritage corporate network either through a wired or wireless connection. For wireless connections, you must be on the Heritage Staff network.
\\canis
\\canis.heritagecollege.local
STEP 2: Install the Printer
FINISH:
From: How to install updates in Ubuntu via command line (CLI)
Commands are as follows…
sudo apt-get update
sudo apt-get upgrade
sudo apt-get dist-upgrade
sudo apt-get autoremove
sudo apt-get clean
Open port 3389 for all firewall profiles.
netsh advfirewall firewall add rule name="Remote Desktop" protocol=tcp dir=in localport=3389 action=allow
To set the management network connection to private.
$profile = Get-NetConnectionProfile -InterfaceAlias "Ethernet 4"

$profile.NetworkCategory

Set-NetConnectionProfile -InputObject $profile -NetworkCategory private
To get remote Disk Management working:
netsh advfirewall firewall set rule group="Remote Volume Management" new enable=yesTo get remote Computer Management working:
netsh advfirewall firewall set rule group="Remote Event Log Management" new enable=yes
List of the different inbound firewall rules related to remote management.
Remote Administration
Remote Assistance
Remote Desktop
Remote Event Log Management
Remote Event Monitor
Remote Scheduled Tasks Management
Remote Service Management
Remote Volume Management