We are in the process of adopting Office 365 at Heritage. Staff and faculty can now use their Heritage Desktop (think Windows) account to access Microsoft Office 365 and upgrade your desktop version of Office 2007 to Office 2016.
Office 365 is a super-useful set of tools for creating and editing documents, storing files in the cloud, and sharing and collaborating with team members. It takes Microsoft Office to the next level.
Login
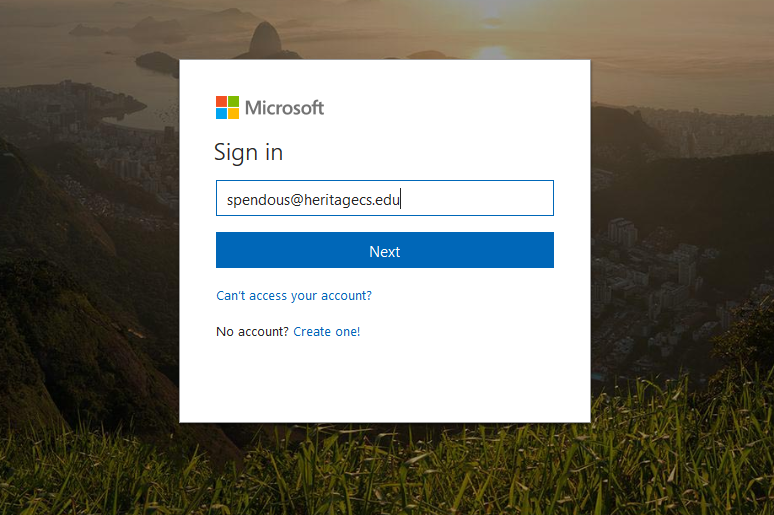
To access Office 365 please visit http://office.heritagecs.edu and login with your Heritage Desktop credentials.
- Use your fully qualified username. Typically this would be in the form of first-initial+lastname@heritagecs.edu.
- So, if your name is Stu and your last name is Pendous, then your fully qualified username would be spendous@heritagecs.edu.
Welcome to Office 365
Check out these really great (and short – like 2 mins) videos on the basic Office 365 features. It will help you get logged in, and show you how to create documents, save them to OneDrive, and share with others.
Install Office 2016
- To install Office 2016 click on the Install Office apps button in the top right corner.

- Just follow the instructions to download and install Office 2016.
- After installation, start any Office application and sign in with your Heritage Desktop account. Again, use your fully qualified username + password to login.
Authenticating with Office 2016 using your Heritage Desktop account will tie Office 2016 in with Microsoft OneDrive and allow you to easily store documents in the cloud.
How Deep Does the Rabbit Hole Go?
Office 365 also gives you access to a whole host of additional products and features in one package. Some of the highlights include.
- Installed versions of Microsoft Office including Word, Excel, and more on up to 5 PCs or Macs.
- Microsoft Office for Tablets and Smartphones.
- Online versions of Office including Word, Excel, and more.
- File storage and sharing in the cloud with 1TB of storage/user using Microsoft OneDrive for Business.
- Microsoft Teams for collaboration and sharing.
- Skype for Business for inter-office messaging and video conferencing.
For a complete list of features in our Office 365 subscription, please visit Microsoft.com.

